Ode to an ale


In my mind, there is no ginger ale other than Vernors.  Don’t try to give me Schweppes or Seagram’s or Canada Dry.  All other ales pale against this oldest surviving American soft drink.  The nose buzzing beverage and beloved tummy tamer still uses the very same formula created some century and a half ago by James Vernor - a pharmacist in Detroit, Michigan. (Even though I’m from Ohio, I have to give props to Detroit.  Great things come from that part of the state.)
      
Now I live on the West Coast, and it can be hard to find this coveted childhood favorite.  But, when I do, I drink it over crushed ice…or cook with it.

I’ve heard fine chefs say never include in ones ingredients a wine one wouldn’t want to drink.  I think the same holds true for ginger ale.  I’d like to share two recipes – one I’ve made for years and one I made up last night.  Both feature the slightly sweet, gingery, barrel aged taste of Vernors.
 
The first – Vernors Carrots – is an adapted Alton Brown recipe and a popular side-dish in this house.

Ingredients
-1C Vernors Ginger Ale
-1lb baby carrots
-2T salted butter

Instructions
Add carrots, butter, and Vernors to a sauté pan with lid.  Bring to a simmer, uncovered.  Reduce heat to low, cover, and cook for 5-7 minutes.  Pierce largest carrot with a toothpick to check for doneness.  When desired tenderness is reached, remove the lid and turn the heat on high.  Continue tossing the carrots in the liquid until mixture is reduced and coats the carrots with a gorgeous glaze (about 5 minutes more).  Serve immediately.


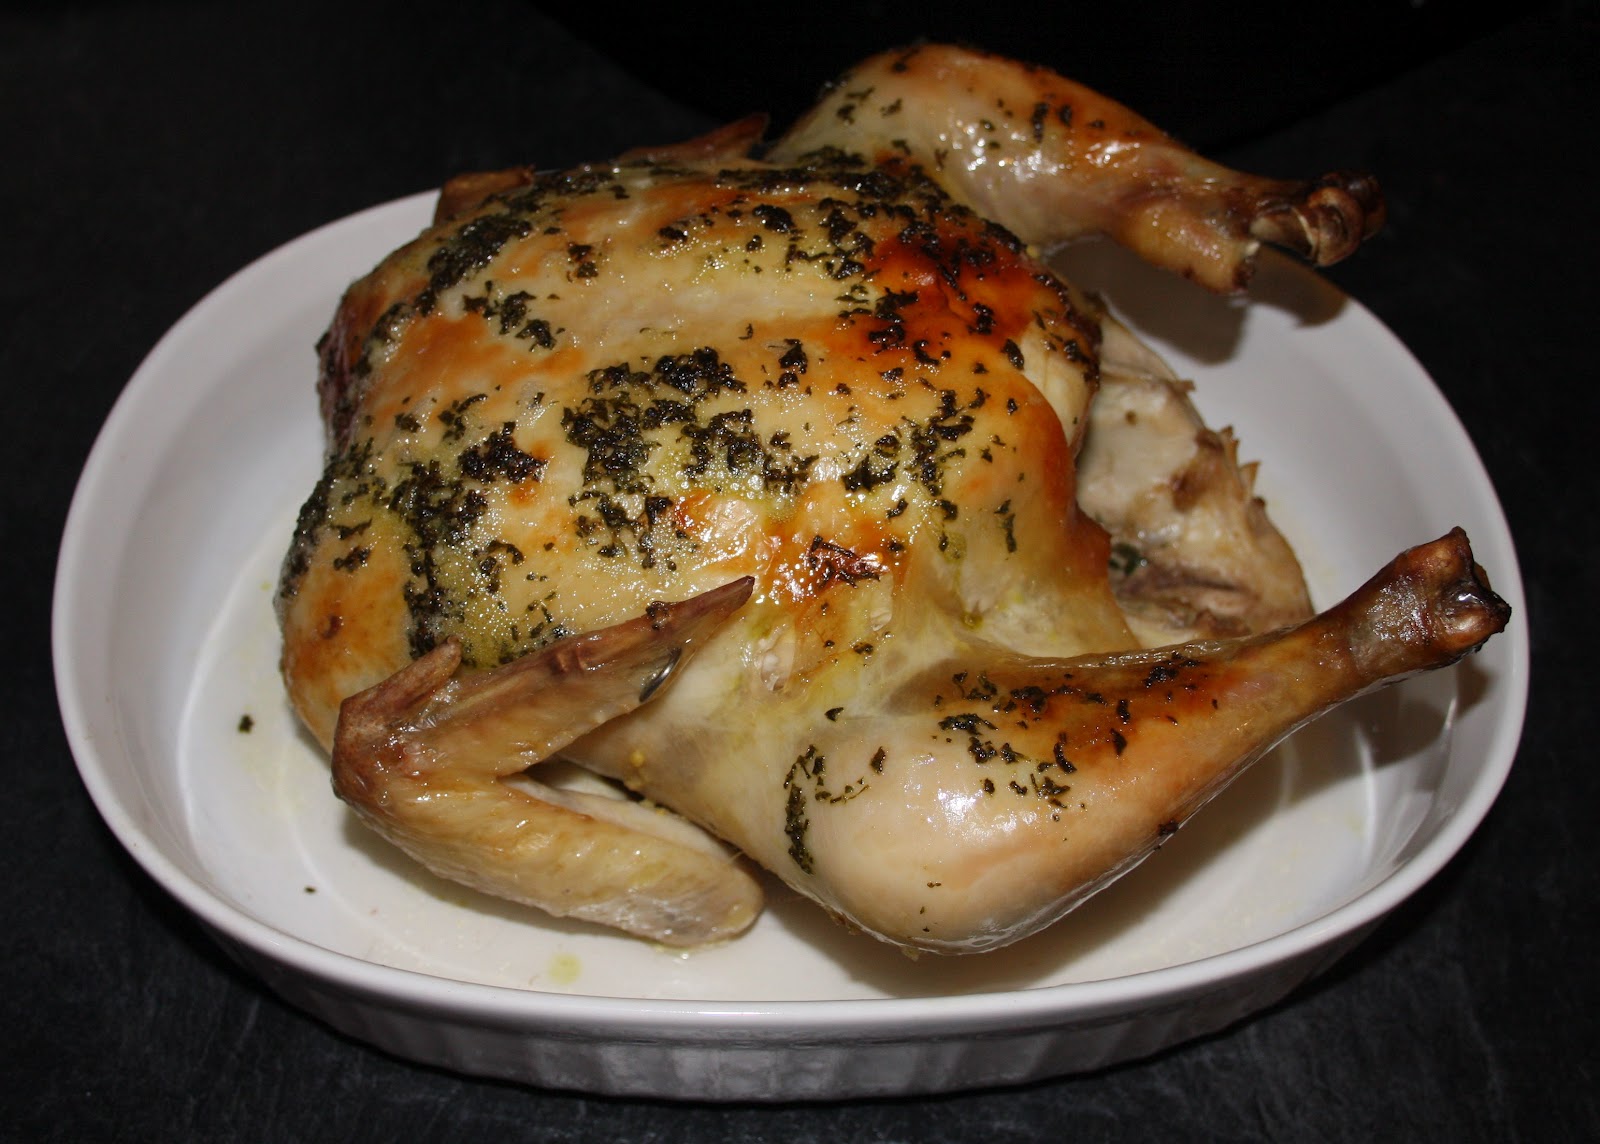
The second – Vernors Chicken – is a Good Cooker original.  I made it last night on a whim and it was amazing.  I will certainly be whipping it up again – after I buy more Vernors.

Ingredients
1C Vernors Ginger Ale     
2lbs chicken legs (or bone-in thighs)
1/2C orange juice
1/4C soy sauce
1/2 t white pepper
3cloves minced fresh garlic

Place chicken in lidded pan large enough to accommodate one layer (I used my new enameled cast iron Dutch oven – it holds 6qts and weighs in at just over 15lbs – yikes).  Combine Vernors, orange juice, soy sauce, pepper and garlic and pour mixture over chicken.  Bring to a simmer, uncovered.  Reduce heat to low, cover, and cook for one hour.  Remove chicken from pan and arrange on serving plate.  Cover with foil. Reduce liquid to a thick glaze over high heat.  Brush or spoon onto plated chicken legs.  Serve immediately.  

A Good Cooker - Memory Lane


My daughter was eating Nutella this morning when a song popped into my head, “Koo-koo-koogly eyes…koo-koo-koogly eyes.”

Where had that come from?  Why did Nutella remind me of this silly ditty?  In the back of my mind, I thought it had something to do with flavored peanut butter…a commercial maybe…but exactly what, I wasn’t sure.  My husband and I - both children of the 70’s - started brainstorming.  We remembered Goober Grape peanut butter, but that wasn’t it.


So, I Googled Koogle…

...and discovered I was right!  Via the Kraft Foods history timeline, I found my answer.  In 1971, Kraft kreated chocolate, vanilla, banana, and cinnamon flavored peanut butter with googly eyes on the jar label!  What a great blast from the past!  I don't ever remember eating it, but apparently the commercial stuck in my head right next to "Hong Kong Phooey.  Number one super guy..."

Check out this old Koogle commercial: 


Further trivia…I learned the Koogle jingle was based on a popular song from 1923, “Barney Google.”


No time


A Good Cooker is on Pinterest now.  At first I was not interested in the slightest.  Between two blogs, two twitters, school, and a life, I didn't see how I had the time for another online interest.  

But, then I saw how convenient it made the organization all of my food related favorites and how investing a little bit of time would save me time in the future, so I caved.  If you are on Pinterest, let me know.  And...if you have time, take a peek through mine.  

Mind you, it's still a work in progress...  

http://pinterest.com/agoodcooker/ 

A Good Cooker’s Food Review


Dr. Praeger’s All Natural California Veggie Burgers

Photo from drpraegers.com

I may be a Good Cooker, but I’m bad about eating breakfast and lunch during the week.  I guess I hate to cook for one.  If I’m feeling particularly rushed, breakfast in a pinch is a high protein Boost shake (chocolate is good, vanilla is “meh,” and strawberry is yucky).  If there is time, I love a bowl of hot cereal.  Steel cut oats with a little brown sugar and milk is my current favorite, but Bob’s Red Mill 10 Grain is also delicious especially topped with a spoon of sweetened, condensed milk and a handful of local raspberries I picked and froze this summer.  Bob’s Corn Grits are great too topped with an over-easy farm fresh egg and a sprinkle of cheddar cheese. 

Lunch, on the other hand, is torture.  Sometimes I have leftovers but, most times, nothing.  I know this is an unhealthy practice, so I started keeping my eye out for easy alternatives. 

I happened across Dr.Praeger’s All Natural California Veggie Burgers at Costco and decided they were worth a try.  They were moderately priced, individually wrapped for convenience, and seemingly nutritious (1 four-ounce patty has 170 calories, 6g fat, 0mg cholesterol, 310g sodium, 5g fiber, and 7g protein).    

As an added bonus, I could read all of the ingredients – Carrots, Onions, String Beans, Oat Bran, Soybeans, Zucchini, Peas, Broccoli, Corn, Soy Flakes, Spinach, Expeller Pressed Canola Oil, Red Peppers, Arrowroot, Corn Starch, Garlic, Corn Meal, Salt, Parsley, Black Pepper – a fact very important to me. 

The taste is green as they come and reminiscent of an eggroll but, in my opinion, isn’t suitable for solo supping.  However, they make an excellent sandwich topped simply with romaine and a smear of hummus (roasted garlic works exceptionally well) or dragged all the way through the garden, as some would say.

Broiling or grilling are the recommended cooking methods, but I’ve found plopping the unopened, frozen patty in the microwave for a minute and a quick 2-3 minute sear per side in a non-stick skillet spritzed with olive oil works just as well.  Regardless of cooking style, they maintain an ever so slightly mushy center.     

What they aren’t: Veggies masquerading as a meat patty.  One really has to dig on the rabbit food to appreciate these – which I do, but all might not.

What they are: A quick meal in a pinch – not so good plain but amazingly delicious as a wrap! 

How they rate: 8 out of 10 (points deducted for flavor and texture) 

The REAL Juicy Fruit

One day in Hawaii, my neighbor and dear friend Ann came to me with an armload of large yellow fruits.  She had picked them fresh from one of the many trees outside the joined lanais of our condo complex.  I had no idea what they were though they looked a little like monster grapefruits.  Ann handed me one and told me this was a pomelo (Citrus maxima).  A little unaccustomed to picking strange tropical fruits from my yard and eating them, I tried a piece with a wee bit of trepidation.  It was delightful - sweet, juicy, and unlike anything I’d ever eaten before.  I was in heaven.  Sometimes spelled pommelo, pumelo, or pummelo, this golden globe of goodness is simply succulent.  You must try one.
    

Until I move back to Hawaii and can pick a pomelo from a tree in my own back yard, I have to be satisfied with the ones I buy in the grocery store.  The biggest, best, freshest, and cheapest ones are found in Asian specialty groceries since pomelos are a beloved fruit native to southeast Asia.


A couple weeks ago, I was fortunate to find a heavy for its size, smooth skinned, green tinged beauty at Uwajimaya in Seattle.  Mine was about eight inches in diameter and weighed in just over two pounds.  (Depending on the specific variety, a pomelo can weigh 2-5lbs and range from 4-12" in diameter)     

Getting to the sweeter-than-a-grapefruit but more-tart-than-an-orange fruit can be a little tricky, but with the right tools, a little know-how, and a lot of patience, this flagon of flavorful vitamin C can be yours for the taking.  Wait…I must backtrack for a moment to the flavor.  The pomelo tastes like the two aforementioned citrus fruits because it is related – directly related.  The grapefruit (Citrus paradisi) is the bitter baby of the union between Sweet Mama Orange (Citrus sinensis) and the Big Daddy Pomelo. Ah ha! 


Now – here’s the how-to.  While hands are handy, a citrus peeler works the best to cut through the rind also know as zest or flavedo and uber thick (1/2-3/4") white pith underneath (albedo) without piercing the membrane covered segments (carpels) and releasing all the glorious juices contained in the pulp (vesicles).  Got that?  No?  Yes?  Here are a couple pictures to illustrate my point.

Pomelo with rind and most of the pith removed

The remnants of the rind and a pile of the pith

Pomelo split into halves allows access to the good stuff

The prize!

Before eating, be sure to remove every last scrap of the membrane.  It’s yucky.  While the segments are luscious, the membrane is just as bitter as that of a grapefruit – maybe more.

Oh...and one more thing.  Grab a napkin - or a few.  Better yet, get a towel.  This is one juicy fruit!  
 
Thank you to the Purdue University Horticulture department for bits of the above info.

Rival Roaster Rules!

I’ve always wanted a kitchen with two ovens – or, two ovens in my kitchen.  Whichever.  I find it frustrating when I have to remove the roast to put the side dishes back in my single oven or take out the lasagna to bake the bread...and so on.  Until I get a spare 10 grand to remodel the eatery – 20 if I get the custom granite countertops I saw at IKEA - it ain’t gonna happen.
 
In the meantime, my 12yo daughter has inadvertently come up with a temporary solution to the problem.  On Christmas morning this year she proudly slid the biggest box under the tree over to me.  She said she saved her money to buy something “that I really needed.”  Inside, I was surprised to find a 22 quart Rival brand roaster oven.  My grandmothers each had one, and my mother too – but me?  I hadn't even considered owning one.


But, now that I too had one, I used it.  For New Year’s Day, I loaded it up with a big brined turkey (1c salt/2gal water/12hours).  The instructions said to cook it for 13-19 minutes per pound at 375 degrees.  For my 16-pounder, this meant it would be done in as little as 3.5 hours or as long as 6.  I decided to compromise and check it at 4.  I was shocked to find it done – maybe even a little too done, as the upper parts of the legs looked a little crisp.  Nevertheless, the skin was golden hued and the meat was as tender and juicy as any turkey I’d ever cooked before – in far less time.

A few weeks later, I brined a 5lb local family farm raised pork shoulder roast (.25c salt/2qt water/2 hours) and roasted it at 350 degrees at 25-30 minutes a pound.  Again – done in record time, tender and juicy.  For the final test, I set one of my local family farm raised, grass fed beef roasts I’d coated with fresh ground black pepper, onion powder and garlic powder on the rack and added a cup of red wine to the bottom of the roaster.  Not only did it produce a tender juicy result but also gave me a cup of tasty pan drippings for a fine gravy.  I was amazed.


Now, I wanted to try poultry again – without nearly overcooking it - so I brined a whole chicken (1c salt/1 gal water/1 hour) and rubbed it with softened butter and chopped fresh sage (2T butter/1T sage) from my Aerogarden.  On a whim, I added 1c of white wine to the bottom of the roaster as well.  An hour later (15mins/pound at 350 degrees) – just one measly hour - I had a roast chicken Betty Crocker would be proud of.  The skin wasn’t as golden as I would have liked – I blame the steam from the wine, but the pan drippings were richly flavored and made the most delicious gravy (and, maybe it's bad, but I used some of the butter and chicken fat from my drippings to roast the locally grown blue potatoes I served alongside the chicken - they were amazing!).


Now, I still want to redo my kitchen – gas cooktop, revamped pantry, new and improved vent fan so I don’t set off the smoke detector when I use the broiler - but I’m completely sold on my roaster.  It remains unRivaled.      

A Good Cooker Will Rise Again

This bad baker has a brand new book. It was recommended to me by my cousin. I listened to her talk time after time about how easy it was to bake bread using the simple directions and drooled as she detailed delicious meals featuring loaf after loaf. I had to have a copy. I just had to!

I ordered my copy of Artisan Bread in Five Minutes a Day: The Discovery That Revolutionizes Home Baking (Francois, Hertzberg) and waited. I had my bread flour and yeast and was ready to go the minute it arrived.


The dogs alerted me to the UPS man and tried to break through the windows to tear out his throat while I was outside picking up my precious. Hands shaking, I opened the box and lifted out what I hoped to be the end of my bad bread baking.

I started reading, excited to get baking…then stopped. Unbleached flour. Not bread flour? Rats! I was determined to make the bread TODAY, so I ran to the store and bought a single five pound bag. Back home, I started over again. I added the right kind of flour, salt, water, and yeast to my KitchenAid mixer with the dough hook attached, gave it a whirl, and put the whole unkneaded mess into my largest container to wait the requisite 2 hours. Yes, it really had only taken five minutes to make the dough. Simple enough!

The timer beeped, and I went out to the kitchen only to discover my largest container was not large enough. The yeast beast had popped its top and was making its way over to my AeroGarden. Since I was learning The Master Recipe and not the herb bread (in a later chapter), I scooped him back into the bowl and carried my creation to the fridge.

The next day, I formed a one-pound boule (French for ball) and got ready for baking. The book insists a pizza peel is best to transfer the dough to the hot pizza stone in the oven, but I had none and wasn’t making another emergency trip to the store. Resourceful Cooker that I am, I decided my lipless wooden cutting board would do the trick – and it did. My perfectly formed loaf slid off my makeshift peel and into the blistering hot 450 degree oven.


Then, I waited and worried and prayed. Alas, my fears were pointless. Much to my surprise, my first loaf looked exactly like the one on the cover of the book.

Three different recipes later, I am still as enamored and amazed with my five minute bread as I was on day one. The only thing that has changed is the size of my storage container. I now have a 2.5 gallon Rubbermaid tub to keep the beast at bay.


PS – Artisan Bread has a website! http://www.artisanbreadinfive.com/